Tips on How to Photograph the Northern Lights
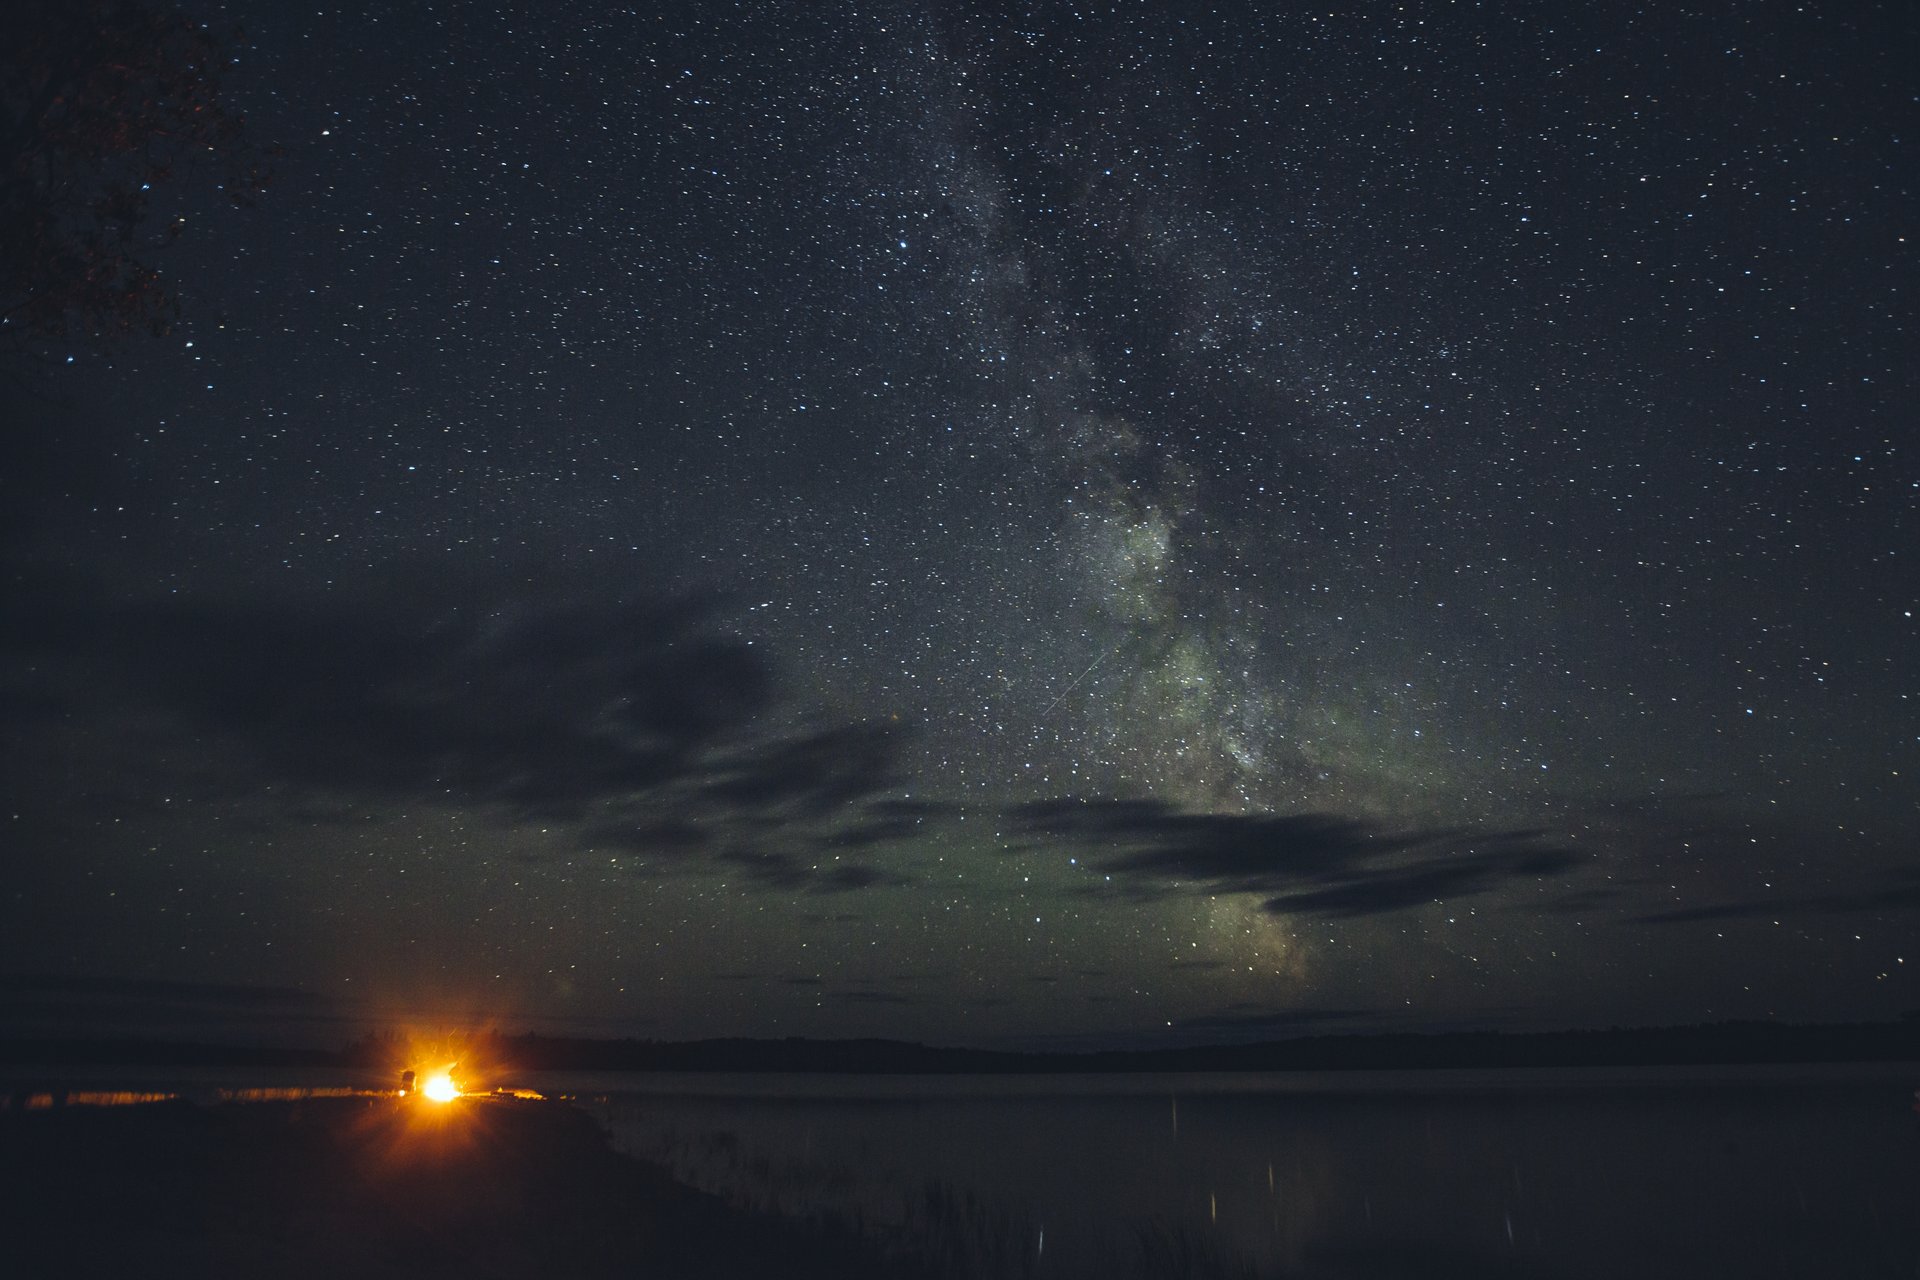
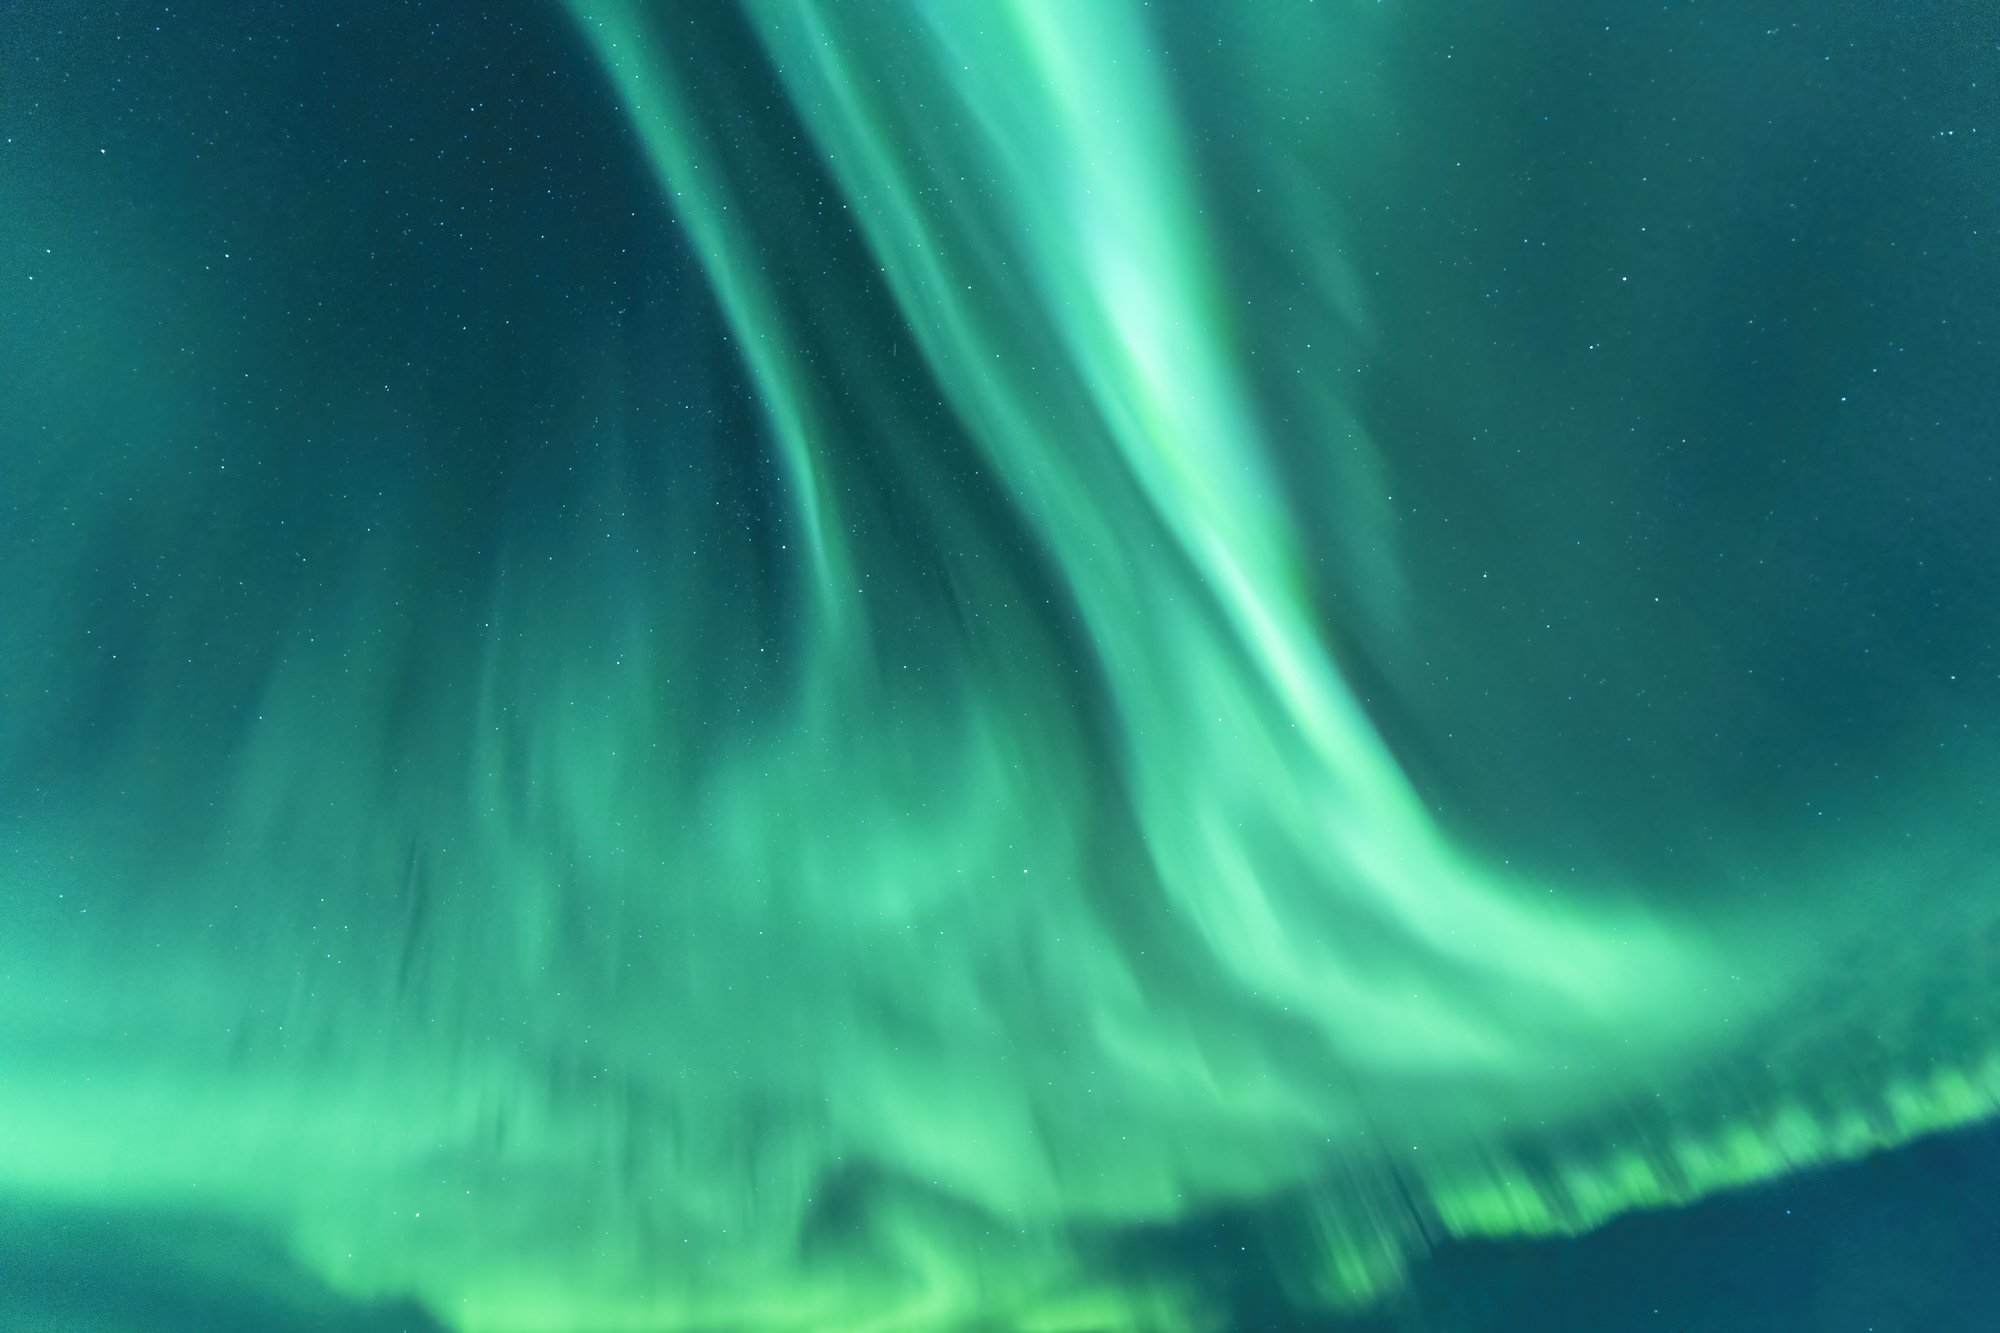
There’s nothing quite like standing beneath a sky alive with colour. Green ribbons ripple across the dark expanse, maybe streaked with pink or violet, and for a moment, you forget about cold fingers and late nights. It’s natural to want to capture that magic — to take home a piece of the Aurora Borealis.

The good news? You don’t need professional equipment or years of photography experience to do it. With a bit of preparation, patience, and curiosity, anyone can take beautiful photos of the Northern Lights.
Here’s how to get started.
Understand the Light
Photographing the Aurora is different from snapping a daytime scene. You’re working with low light, moving patterns, and long exposures. But that’s also what makes it fun. Think of it as experimenting with light that’s alive.
Before you start shooting, take a moment just to watch. Notice how the colours move, how fast or slow they dance. The more time you spend observing, the easier it becomes to anticipate their rhythm when you press the shutter.
Keep It Simple: Gear You Actually Need
Even if you don’t have access to a professional camera, you can still take good Aurora photos with just a good smartphone or point-and-shoot camera. Many modern devices can capture the Aurora surprisingly well. Here’s what helps most:
- A smartphone or camera with night mode or manual settings
- A tripod or something steady to rest your device on
- A timer or remote shutter to avoid shaking the camera
- Warm gloves that let you use your touchscreen or camera controls
- An extra battery — cold weather drains them fast

Simple Settings for Clear Shots
If your device allows it, try these as a starting point:
- Turn off the flash.
- Keep ISO between roughly 800–1600.
- Use a 5–15 second exposure depending on how fast the lights are moving (shorter if it is bright and fast; longer if it is faint or slow-moving)
- If your camera struggles to focus in the dark, try tapping on a bright star or distant light before you take the photo as this can help the camera focus on the sky instead of the foreground.
- Keep your lens clean, a little frost can create surprising effects.
If your phone doesn’t show these options, just switch to night mode — most newer models automatically adjust for the dark sky.
Frame the Moment
The Aurora is beautiful on its own, but the most memorable photos tell a story. Add something to the foreground: a line of trees, a cabin roof, or a person looking up in awe. Think about scale, texture, and contrast — elements that connect earth and sky.
Try both horizontal and vertical shots, and don’t worry about getting it “right.” Each Aurora display is different, and part of the fun is seeing what works.

Stay Warm
You’ll likely be out late, standing still in the cold, so layer up. Keep batteries warm in your pocket, and take breaks to simply look up. Some of the best memories happen between photos.
When you review your shots later, go easy on the editing. The real beauty of the Aurora is already in its movement and light, it doesn’t need heavy filters to impress.
Learn from the Pros
If you’d like hands-on help, some Aurora tours include expert guides who can show you exactly how to set up your camera, adjust your settings, and frame your photos under real conditions.
Our Churchill Northern Lights Photo Adventure pairs guests with experienced photographers who know the best vantage points and can help you capture the Aurora at its most vivid. It’s a great way to build skills while experiencing one of Canada’s most extraordinary natural events.